PantryPilot
How to Use PantryPilot
Live demo: zingy-hamster-1df2ed.netlify.app
There’s nothing to install and no account to create — it’s a static page. Open the link above and it works immediately.
As a human
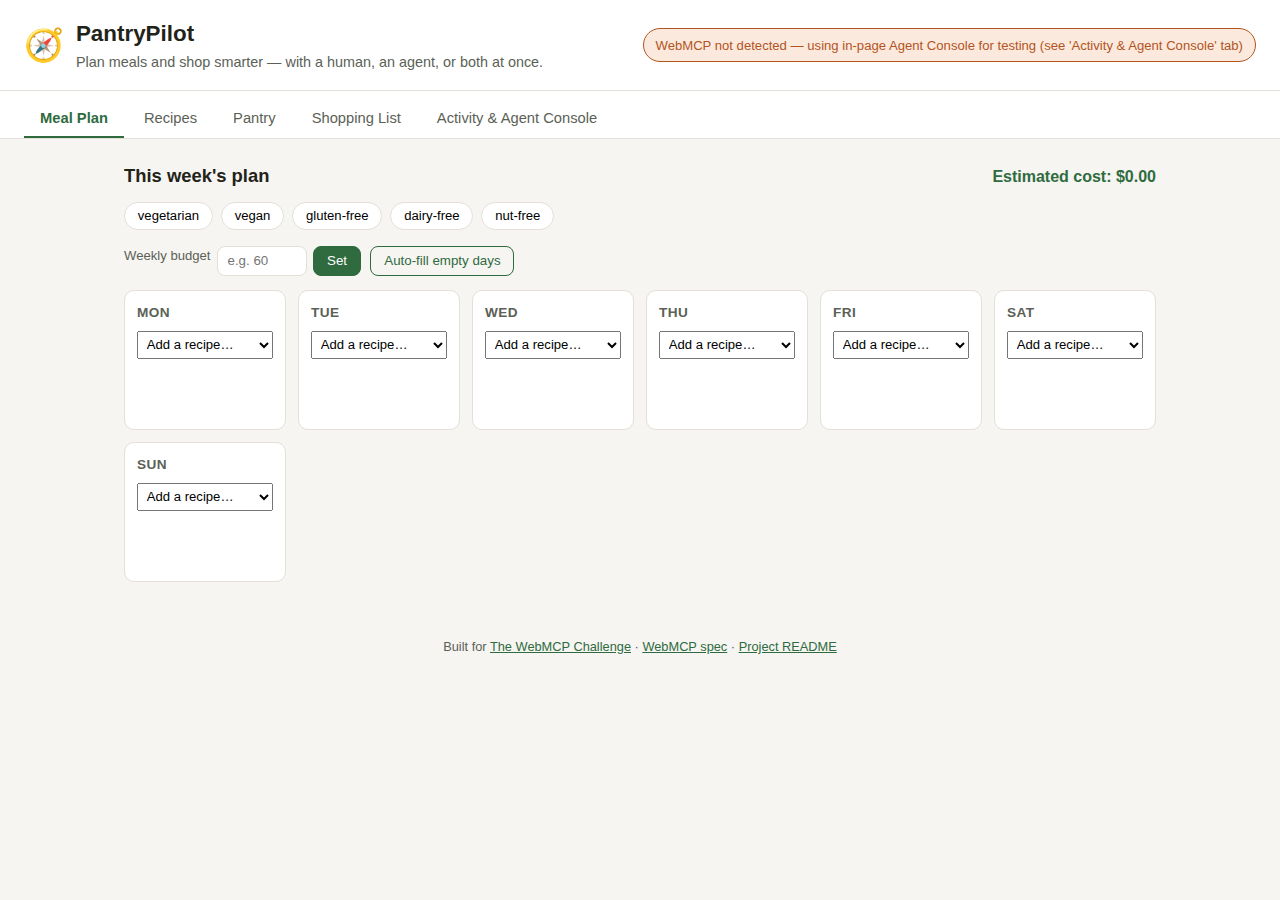
Click through the tabs like any normal app:
- Meal Plan — pick a recipe for each day from the dropdown, set dietary preferences (vegetarian, vegan, gluten-free, dairy-free, nut-free), set a weekly budget, or click Auto-fill empty days to let the built-in planner fill the rest of the week for you.
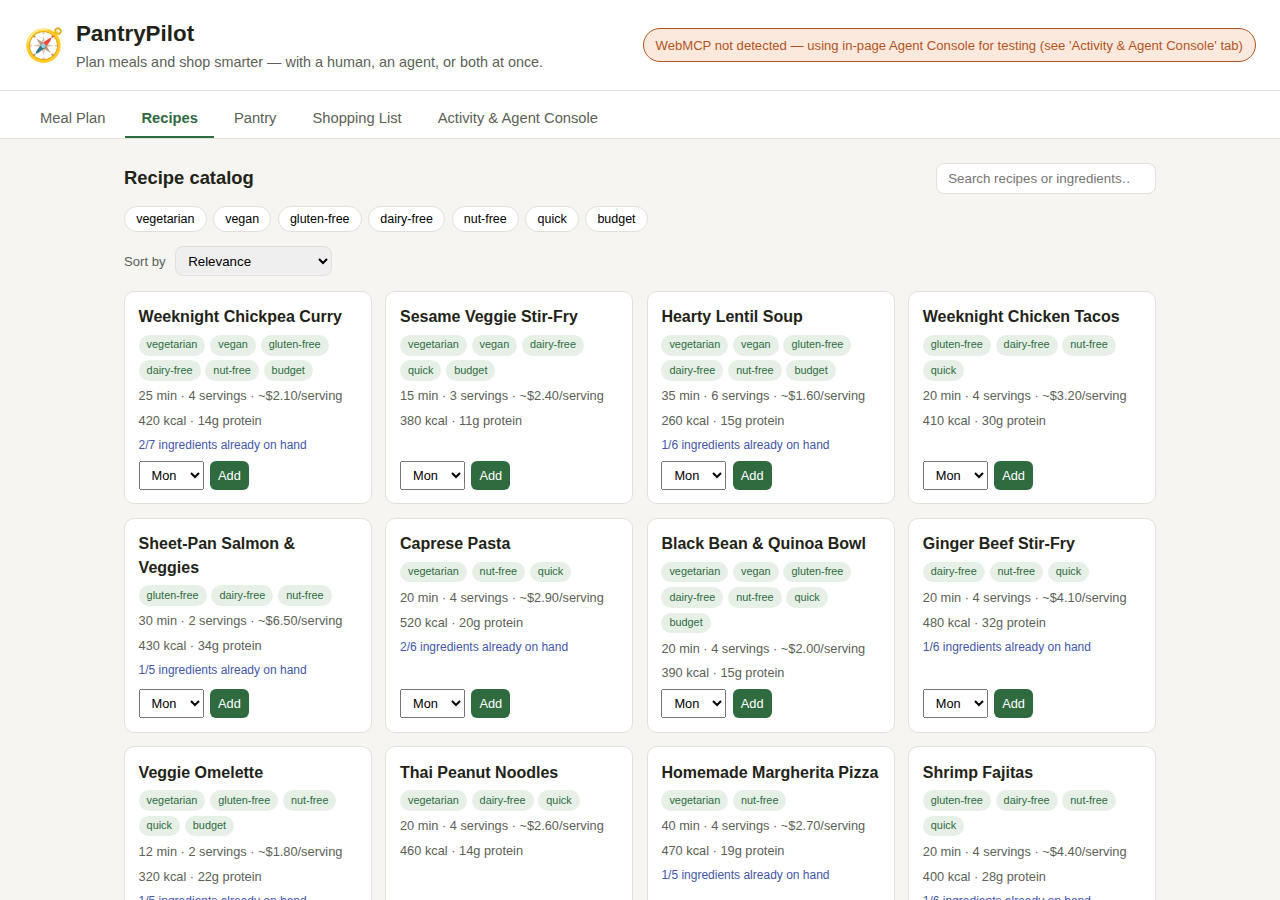
- Recipes — search and filter the catalog; sort by “what I already have,” “uses expiring items,” lowest cost, fastest, or lowest calories.
- Pantry — check off what’s in stock, and optionally give an item an expiry date so the planner can prioritize using it up.
- Shopping List — auto-generated from the week’s plan, offset by what’s already in the pantry.
As an agent
This is the actual point of the app: everything above is also exposed as
19 WebMCP tools via document.modelContext.registerTool(), so an agent
can do all of it directly instead of clicking through the UI.
Enabling WebMCP to see it live
WebMCP isn’t broadly available in browsers yet. To see the page register its tools natively:
- Use Chrome 149 or later.
- Go to
chrome://flags/#enable-webmcp-testingand set it to Enabled, then relaunch Chrome. (Or, once generally available, join the WebMCP origin trial for production use — no flag needed.) - Open the live demo. The badge in the top-right of the header will read “✓ WebMCP tools registered natively” instead of the fallback message.
- Point a WebMCP-aware agent client (or ChatGPT’s in-app browser) at the page and ask it to do something like: “I’m vegetarian, my budget is $40 this week, plan the rest of my days and build the shopping list.” Watch the plan, nutrition summary, and shopping list update live while it works.
!!! note “About the screenshots on this page”
They were captured from this exact codebase running locally rather
than fetched live over the network, and they show the fallback
state (see below) — the automated tooling used to generate this
documentation runs on a Chromium build older than 149, so
document.modelContext isn’t implemented there yet and can’t render
the native badge. The UI is pixel-identical either way; only that one
badge in the header changes. Follow the steps above in a real Chrome
149+ browser to see it for yourself.
Trying it without a WebMCP-capable browser
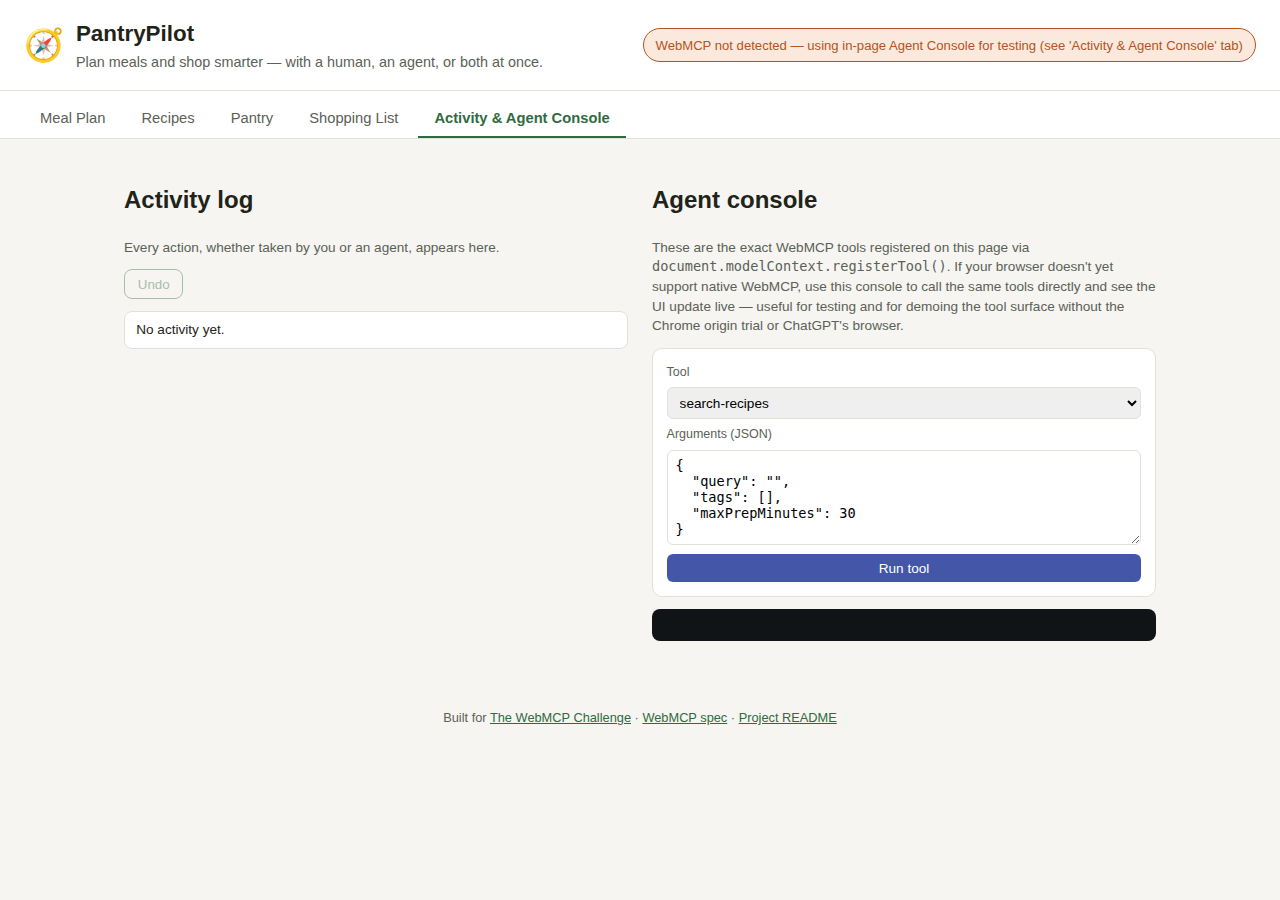
Every tool is also reachable through an in-page Agent Console, on the
Activity & Agent Console tab. It calls the exact same handler functions
that document.modelContext.registerTool() would have wired up — so it’s
not a simplified demo, it’s the real tool implementation, just reachable
through a manual form instead of an LLM deciding the calls.
To try it:
- Open the Activity & Agent Console tab.
- Pick a tool from the dropdown — for example
plan-week. - Edit the JSON arguments, e.g.:
{ "maxCaloriesPerServing": 500, "prioritizeExpiring": true } - Click Run tool and watch the result, then switch back to Meal Plan to see the week fill in live.
See the tool reference for the full list and their arguments.